Kubernetes
Table of Contents
Into
I made back some almost 6 months ago a 2 Kubernetes slide shows. But I left that aside because I wasn’t Learning in good, I felt week in Kubernetes.
Few weeks ago, I upgraded my Home-Lab using Kubernetes and leaned a lot. I want to share some of my notes from the time I made it.
Setup
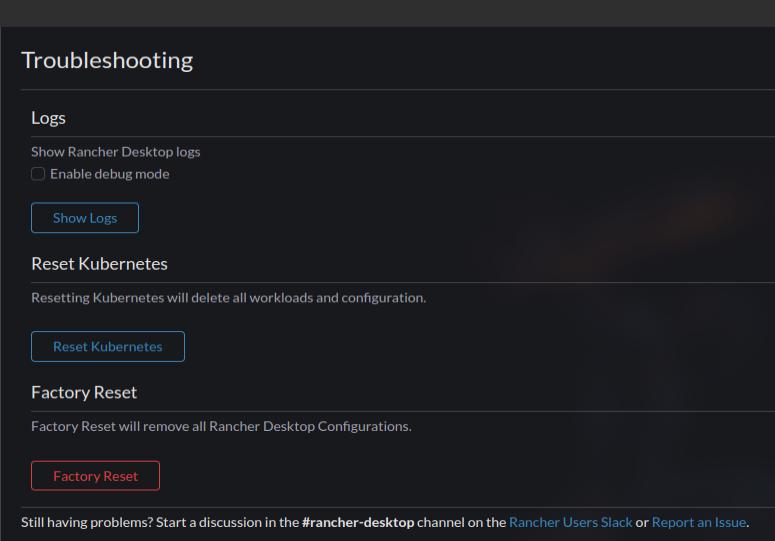
- Rancher-Desktop: helps me to manage the pods, containers, and images with GUI when I need it.
- I’m not using the GUI a lot, but sometimes it’s nice.
- The best thing is when something is messed up, I can just have a clean start. Because I work with yaml files, it’s ok for me to have this restarts and clean state I can work a weird error or if I bricked something.
- K9S: terminal GUI app that helps you manage all the Kubernetes.
- Personal note: I use it to see all the workspaces, logs, see the YAMLs, execute shells commands.
-
kubectl: the Kubernetes CLI tool.
-
Docker: Docker is the engine.
- Note: when using Rancher-Desktop with the setup, you need it activated all the time.
commands
Setting the workspace
The first command is to set the workspace we want to use. You can work on few workspaces like Rancher-Desktop or K3S.
kubectl config use-context <context-name>
POD management
First things first, run/create a new POD:
kubectl run <pod-name> --image=<image-name>
Check what PODS are created: check state:
kubectl get pods
Get information about a specific POD:
kubectl describe pod <pod-name> | less
Get the YAML of a POD:
kubectl get <pod-name> -o yaml | less
We can only create the YAML file without creating a POD:
kubectl run <pod-name> --image=<image> --dry-run=client -o yaml | nvim
# Or redirect to file:
kubectl run ... > file-name.yaml
If you want to delete a POD:
kubectl delete pod <pod-name>
Apply configs
kubectl create -f <file-name>.yaml  # Create only
kubectl apply -f <file-name>.yaml   # Apply + update
To get into a POD shell:
kubectl exec -it <pod-name> -- /bin/bash
# or /bin/sh